实现效果
页面效果
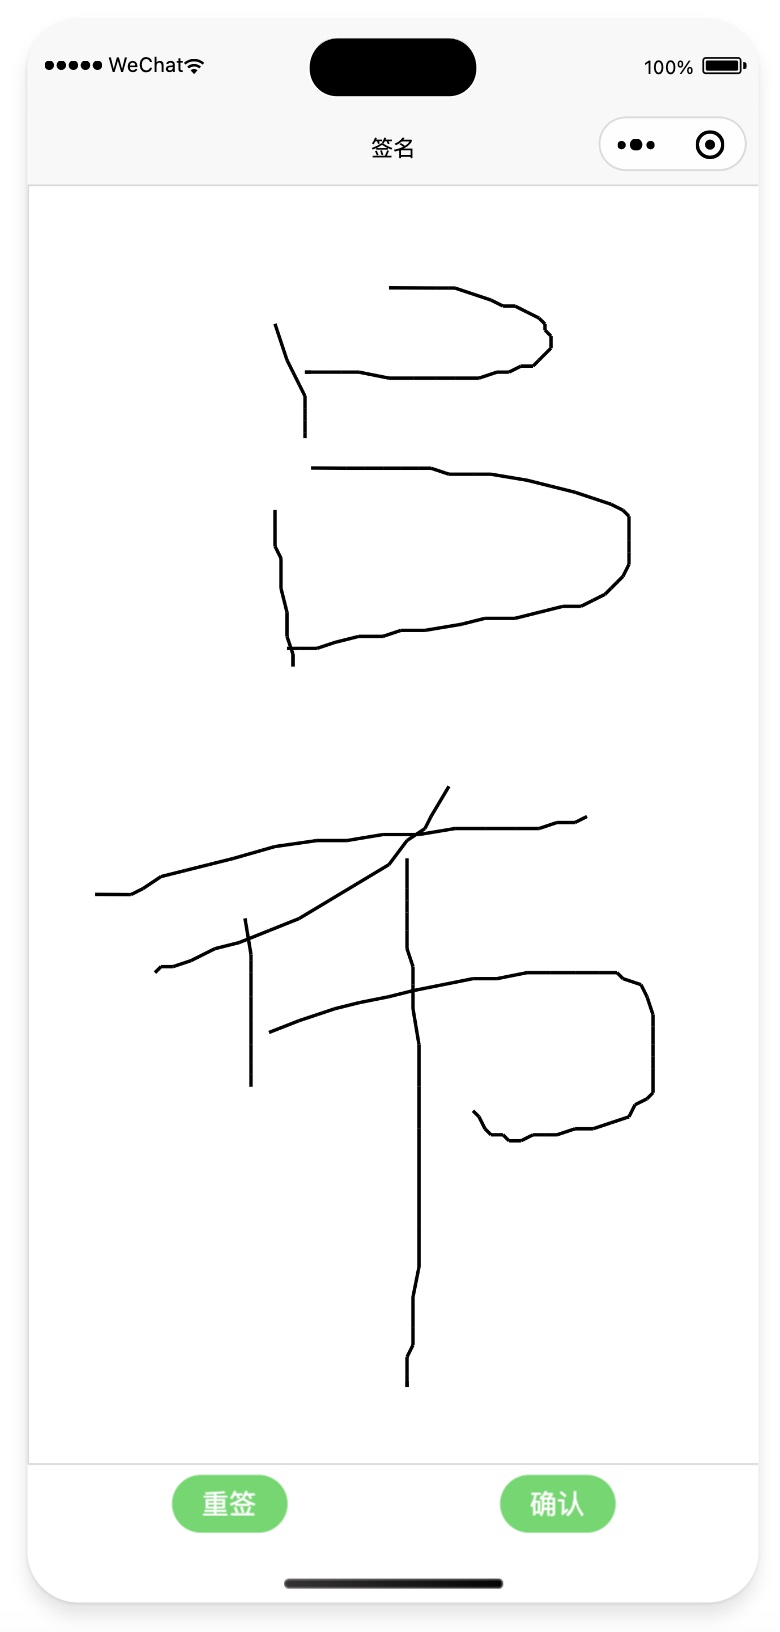
预览效果

canvas的简单介绍
canvas 画布,在移动端一般用来制作海报,生成签名等,具体使用教程请查看 MDN Canvas 教程。
关于 canvas 各种 api 请查看 w3schools。
绘制一个线条
首先创建 canvas 标签。
1
| <canvas id="myCanvas" width="300" height="150" style="border:1px solid grey"></canvas>
|
获取 canvas 渲染上下文,绘制图形。
1
2
3
4
5
6
7
8
| const c = document.getElementById("myCanvas");
const ctx = c.getContext("2d");
ctx.beginPath();
ctx.moveTo(20, 20);
ctx.lineTo(20, 100);
ctx.lineTo(70, 100);
ctx.strokeStyle = "red";
ctx.stroke();
|
下面介绍一下相关 api 的作用。
- getContext(“2d”):获取 2D 渲染上下文。
- beginPath():新建一条路径,生成之后,图形绘制命令被指向到路径上生成路径。
- moveTo(x, y):将笔触移动到指定的坐标 x 以及 y 上。
- lineTo(x, y):绘制一条从当前位置到指定 x 以及 y 位置的直线。
- strokeStyle:设置绘制的线条颜色或者渐变、图案。
- stroke():绘制当前路径。
在web上实现一个签名板
实现绘制线条的步骤之后,制作一个签名板就很容易了。签名板一般分为绘制区域和按钮操作区域,操作按钮有重签和确认按钮。重签其实就是清除 canvas 之前绘制的内容,确认其实就是将 canvas 绘制的内容导出图片。
主要方法:
- CanvasRenderingContext2D.clearRect():通过把像素设置为透明以达到擦除一个矩形区域的目的
- canvas.toDataURL(type, encoderOptions):返回一个包含图片展示的 data URI,默认 type 是 png格式(base64的图片)。
完整实现代码
1
2
3
4
5
6
7
8
9
10
11
12
13
14
15
16
17
18
19
20
21
22
23
24
25
26
27
28
29
30
31
32
33
34
35
36
37
38
39
40
41
42
43
44
45
46
47
48
49
50
51
52
53
54
55
56
57
58
59
60
61
62
63
64
65
66
67
68
69
70
71
72
73
74
75
76
77
78
| <!DOCTYPE html>
<html lang="en">
<head>
<meta charset="UTF-8">
<meta name="viewport" content="width=device-width, initial-scale=1.0">
<title>Document</title>
<style>
canvas {
border: 1px solid #000;
}
button {
margin-top: 10px;
}
</style>
</head>
<body>
<canvas id="signatureCanvas" width="400" height="200"></canvas>
<button id="clearButton">清除</button>
<button id="saveButton">保存</button>
<script>
const canvas = document.getElementById('signatureCanvas');
const context = canvas.getContext('2d');
context.strokeStyle = '#000';
context.lineWidth = 2;
let isDrawing = false;
let lastX = 0;
let lastY = 0;
function startDrawing(e) {
console.log(e);
isDrawing = true;
[lastX, lastY] = [e.offsetX, e.offsetY];
}
function draw(e) {
if (!isDrawing) return;
context.beginPath();
context.moveTo(lastX, lastY);
context.lineTo(e.offsetX, e.offsetY);
context.stroke();
[lastX, lastY] = [e.offsetX, e.offsetY];
}
function stopDrawing() {
isDrawing = false;
}
canvas.addEventListener('mousedown', startDrawing);
canvas.addEventListener('mousemove', draw);
canvas.addEventListener('mouseup', stopDrawing);
canvas.addEventListener('mouseout', stopDrawing);
const clearButton = document.getElementById('clearButton');
clearButton.addEventListener('click', () => {
context.clearRect(0, 0, canvas.width, canvas.height);
});
const saveButton = document.getElementById('saveButton');
saveButton.addEventListener('click', () => {
const image = canvas.toDataURL();
console.log(image);
});
</script>
</body>
</html>
|
uniapp vue3 实现签名板
小程序上使用 canavs 请查看 画布使用指南。
- 添加 canvas 组件,将pc上的 mouse 相关事件需要换成对应 touch 事件。
1
2
| <canvas @touchstart="handleTouch" @touchmove="handleMove" @touchend="handleEnd" class="my-canvas" type="2d"
canvas-id="myCanvas" id="myCanvas"></canvas>
|
- 定义相关变量,存储信息。
1
2
3
4
5
6
7
| const isDrawing = ref(false);
const ctx = ref(null)
const position = reactive({
x: 0,
y: 0
})
|
- 初始化 Canvas。
1
2
3
4
5
6
7
8
9
10
11
12
13
14
15
16
17
18
19
20
21
22
23
24
25
26
27
28
29
| onReady(() => {
const query = uni.createSelectorQuery()
query.select('#myCanvas')
.fields({node: true, size: true})
.exec((res) => {
const canvas = res[0].node |